If you’d like to watch this blog live, here is a video of Nyah Macklin & Jessica Rose walking through the process of installing Visual Studio Code, otherwise read on!
In our last post, we learned how to take snapshots of our code in time using Git and save and share those code snapshots with other developers using GitHub. Today, we will learn how to turn the code we wrote into real websites with real URLs we can share with others using Netlify.
What is Netlify?
In simple terms, think of Netlify as a place where you can show other people your website. You’ve witten code which currently either lives on your computer in Visual Studio Code or it lives on the web still in code form on GitHub. Netlify provides the space and tools to show it off to the world as a full website. It’s like opening a window and shouting, “Hey world, check out my website!”
1. Making a Netlify Account
-
- First, head over to the Netlify website.
- You’ll want to click the big blue Sign Up button in the top right corner.
A page will pop up with options. If you’ve heard of GitHub, GitLab, or Bitbucket and have an account with one of them, great! Click on that. If not, click Sign up with email, and it’ll ask you to type in your email and a password for your Netlify account. Netlify might then ask you some questions to better understand how you will use their product. Give any required questions a response and move forward to the Continue to Deploy button at the bottom.
Netlify should then take us to this Deploy Your First Project page.
2. Deploying Your First Netlify Site
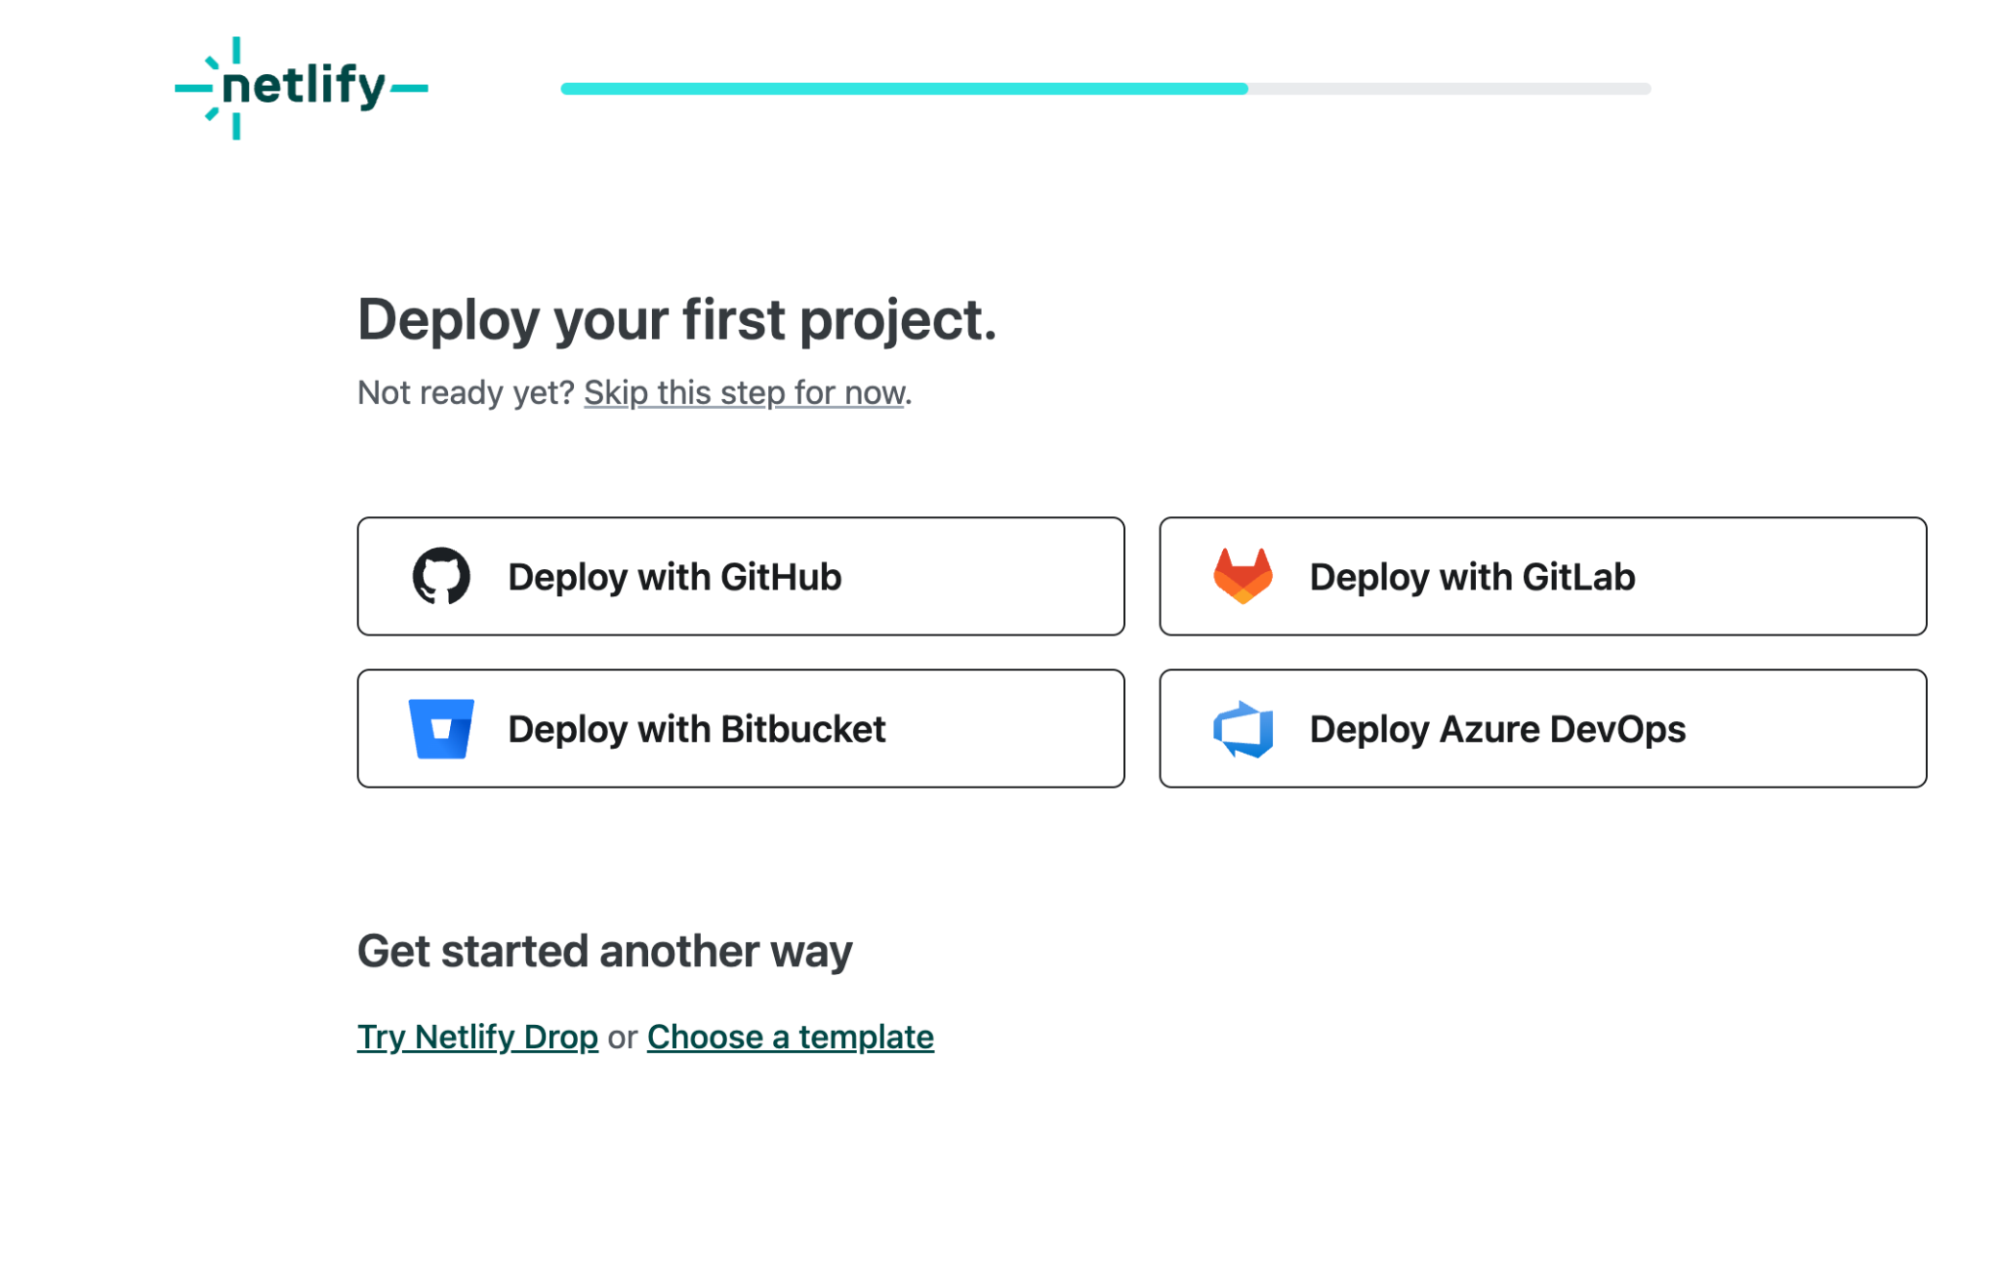
Since we just created a GitHub account in our last blog post, we can select Deploy with GitHub which will automatically link all GitHub repositories and allow you to create websites out of them on Netlify.
If you haven’t created a GitHub account yet, select Try Netlify Drop at the bottom which is Netlify’s drag and drop code feature. Find the folder on your computer for the code project you made and then drag it over to the center circle and drop it there.

After you drop your folder, the folder icon in the center will flash and say Uploading and then you should get a page like this if the upload was successful.

Netlify gave your site a unique URL which you can see live if you click Dismiss to this initial popup box and then Open Production Deploy.
Whatever website you uploaded now has a real life URL that you can share with the world!

3. Naming Your Site
Netlify automatically assigns a fun (but often strange) default name to your site:
-
- On your Netlify dashboard, click into Site Overview.
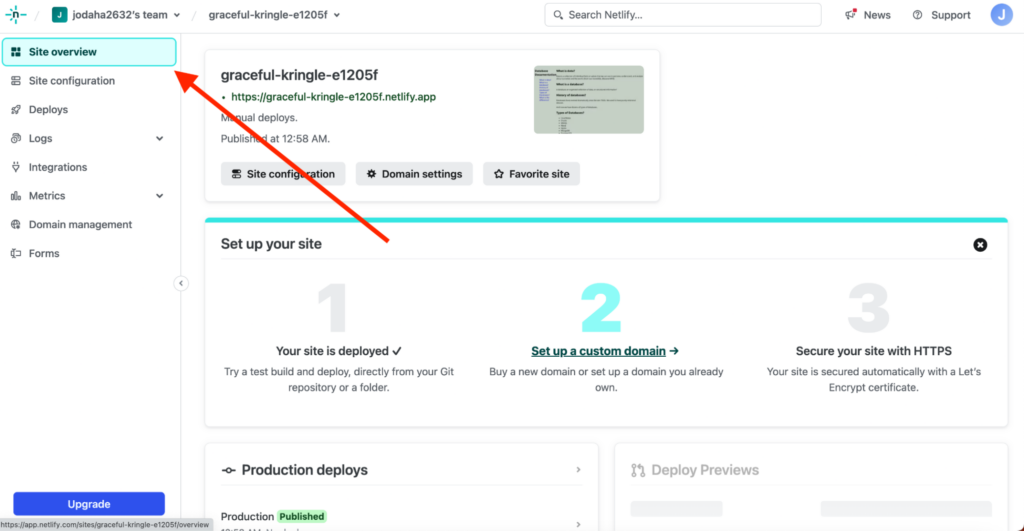
- There’s a section titled Domain Settings. Click it.
- You’ll see an area labeled Options. Click it, and you can edit the site name to something you like better. Hit save!
- On your Netlify dashboard, click into Site Overview.

Here is mine! Click this link and see if it takes you anywhere!
4. (Optional) Your Very Own Web Address
If you have a domain name you’d like to use:
-
- In the same settings, scroll until you find Domain Management. Here, there’s a button Add a custom domain. Click and follow the simple steps.
Celebrate: Your Website is Live!
That’s it, friend! With just a few clicks and drags, you’ve got a live website.
In Conclusion
Netlify might seem like magic, but with a guide like this, you’re completely in control. Remember, every great web developer started with steps just like these. So embrace the journey and enjoy every moment.
-
- Reference the Netlify docs if needed.
Keep building.
<3 Couchbase
#LearningOnTheCouch